Control Buttons A series of buttons that provide the following functions:
-
 Excel export of the current Result Type with all records in the current filter exported to a User defined .xls format. -
 Refresh the current filtered recordset. -
 Show all records by applying only the default filters; this will automatically check the 'Exclude all Simulated Records'.
|
 Result Type Select the main Result Type from the dropdown to display the results for that type. Result Types include: Intermittency, Continuity, Shorts, Trace, legacy LogScope.
|
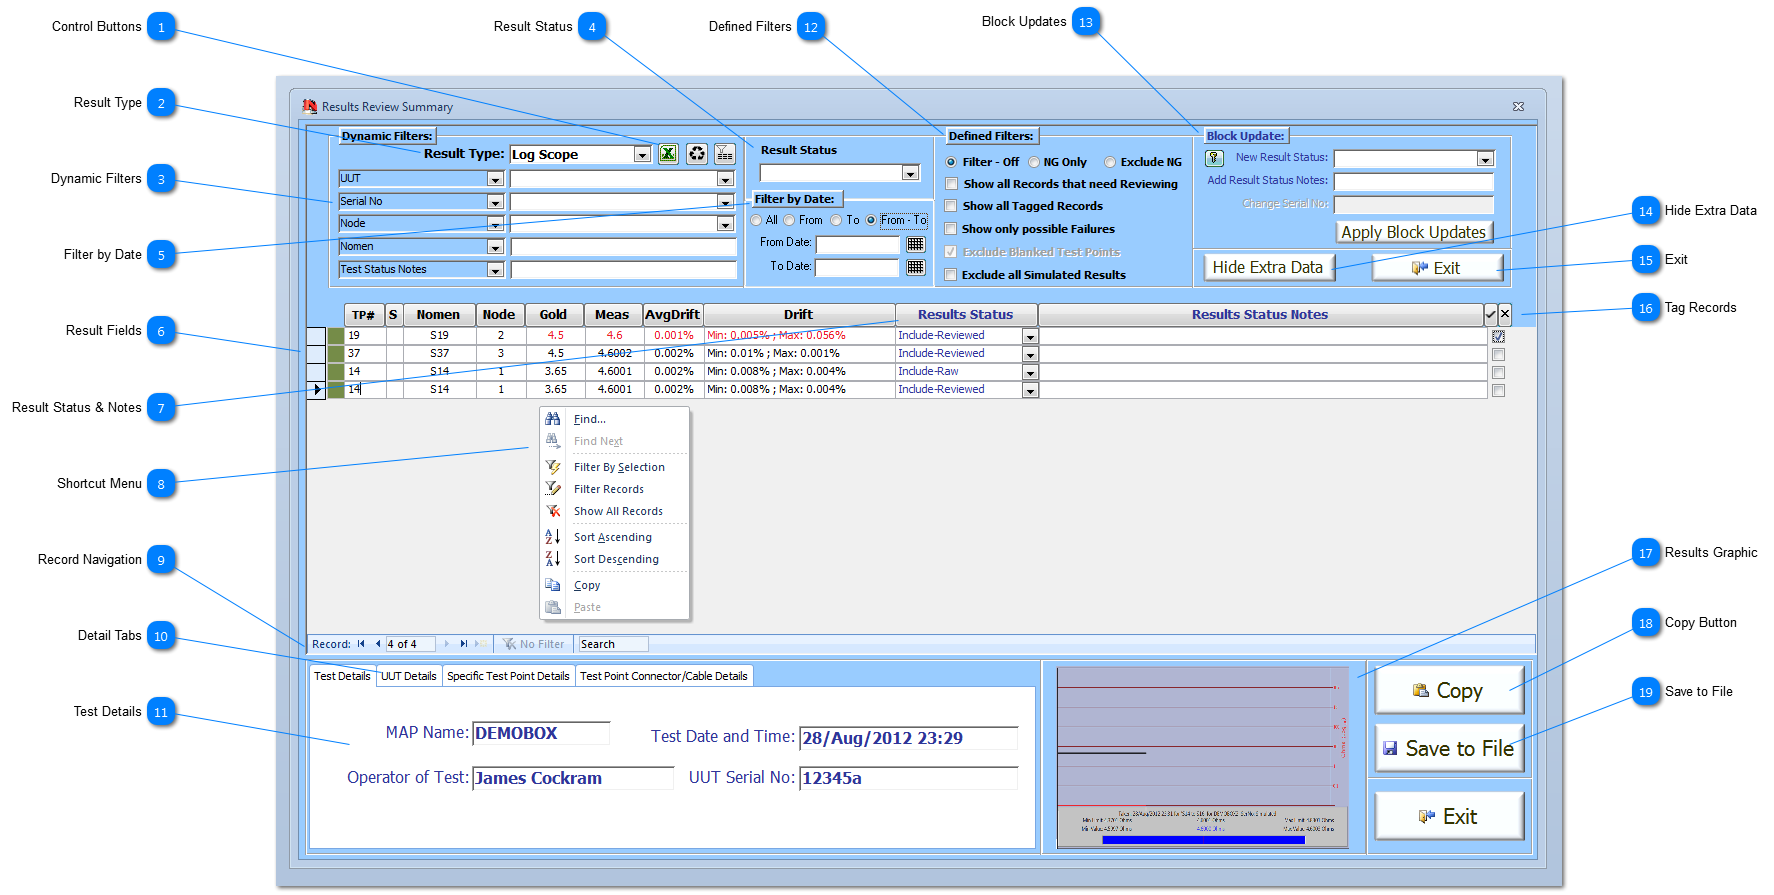
 Dynamic Filters Filter the Result Type using the Dynamic Filters. Each User defined filter eg UUT, is only applied if an entry is entered into the adjacent white field. The User defined filters can be changed to allow finer filtering of records. Double-clicking in the white field will remove the entry and remove that specific filter.
|
 Result Status
|
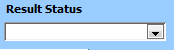
 Filter by Date Use the Filter by Date to narrow the results to a specific period. Selecting the following options:
-
'From' option selects all result records from and including the date entered -
'To' option selects all results records up to and including the date entered -
'From - To' option selects all result records between the dates entered which also includes the dates entered.
|
 Result Fields Each Result Type are colour coded and they show the corresponding fields associated with the specific test carried; the example above shows the results for Log Scope, other examples of field layout are explained at Result Type Examples. Results which are suspected as possible failures are shown in red, except for Intermittency where all results show by definition are suspected as failure unless. Results that are suspected as failures but have been assigned a Result Status containing the word 'disregard' are not shown in red. Result can be filters using the Dynamic Filters or by using the Shortcut menu provided
|
 Result Status & Notes Each result record can be individually assessed and given a Result Status, and if required a attributing note. This facility allows the User to review each of the result records and decide if each of result/s provided by the corresponding test is legitimate or not. For example during an intermittency test it might be that a 4hr test is performed and a number of intermittent events occur on different TPs, and then at the end of the test, a spurious event occurs due to User miss-use of the equipment. In this case, the previous results can be reviewed and marked as legitimate, and the spurious event can be tagged accordingly so that it does not appear on any associated reports. Therefore, the UUT and the tested Serial No item has 4hrs of test logged against it and only legitimate results.
|
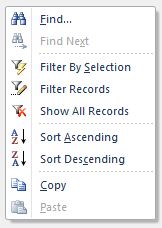
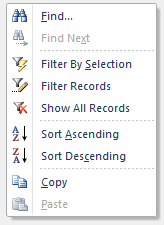
 Shortcut Menu The Shortcut menu can be accessed by right-hand clicking on the main recordset area of the form. Result records can be filtered using the Dynamic filters provided, or they can be filtered using the various options on the Shortcut menu. Other options are also availble including:
-
Find... used to find text in the current record field or the whole recordset shown. -
Sort Ascending/Descending which also can be done by clicking on the header buttons at the top of each of the fields.  -
Copy/Paste can be used to copy text and, if the field is not locked, paste from the clipboard.
|
 Record Navigation Use the standard navigation tool to move, filter or search the results recordset. User defined Dynamic filters can be applied to the dataset at the top of the form, any filters added using the Record Navigator or using the shortcut menu (via a right-hand mouse click) will be additional to the Dynamic filters applied.
|
 Detail Tabs Other details that relate directly to the current result record can be shown by selecting one of the tabs shown. The details are drawn from either the UUT and/or the Test Point Data recordsets.
The current result records is indicated by the record pointer  |
 Test Details Basic test details showing the Map Name, the data and time of the specific test, the operator and the UUT Serial No.
|
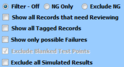
 Defined Filters To help the User narrow the recordset to usable and manageable size, defined filters have been created that quickly switch on and off prevalent subsets of the recordset.
|
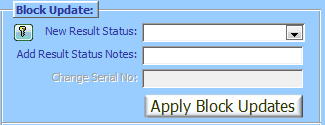
 Block Updates Block Updates is provided to allow the User to quickly apply a Result Status and/or Result Status Notes to tagged results. Block Updates is locked to ensure that results are not inadvertently changed by the User. To unlock Block Updates, click on the  button which will enable the relevant fields and the Apply Block Updates button. Ensuring the correct results are tagged, see tagging records, enter a New Results Status and/or Results Status Notes and then click the Apply Block Updates button. All tagged records will be updates and the User will be asked if the tags are to be removed once the update has been completed.  Note that the Results Status Notes field is not added to but any data held will be overwritten. Any update to this field cannot be undone. |
 Hide Extra Data Click this button to hide and show the extra data shown in the footer of this form. The example shown, shows the extra data, if the extra data is hidden, then the space is used to display more results records.
|
 Exit Close the Results Review form.
|
 Tag Records There are 3 controls to enable the User to tag and un-tag records.
-
 Use the tick button to tag all result records that are currently filtered and showing in the current form. -
 Use the cross button to un-tag ALL result records across the entire Result Type selected. -
 Use the select checkbox to tag and un-tag individual result records.
Tagged records can be filtered using the defined filter, and they can be Block Updated.
|
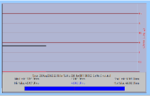
 Results Graphic Each test has the ability to capture a related test graphic; shown here is a graphic from a Log Scope test. If there is a results graphic for the select result record, then it is displayed here. Double-click on the graphic to view the graphic at full size.
|
 Copy Button Click to Copy the result graphic to the Clipboard.
|
 Save to File Click to Save to File the currently displayed result graphic. Files are always saved in PNG format.
|
Made with help of Dr.Explain
|