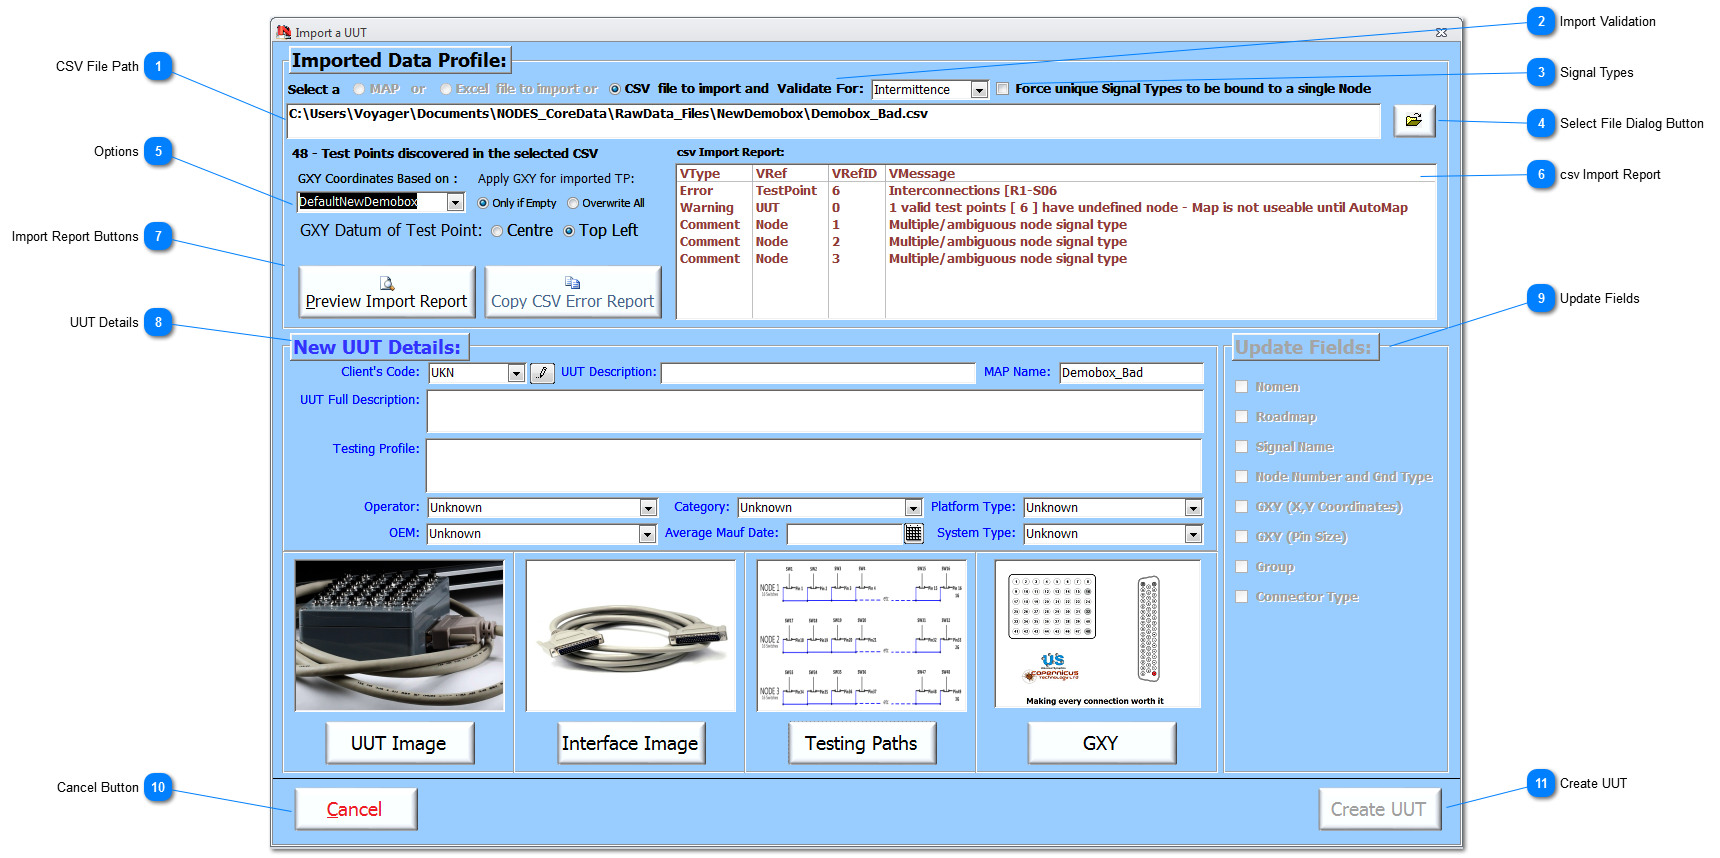
In addition to the field descriptions covered in Create a New UUT, the following information covers the extra fields and functions provided by the Import a UUT option.  CSV File Path Select a csv to import from the Spreadsheet Template (the template is installed at part of NODES™); double-click in this field to open the Select File dialog. The Select File dialog will default to the \NODES_CoreData\RawData_Files folder and show all the .csv files. Select the correct .csv file and this field will display the full path. The name of the file (excluding the extension) will be used as the UUT's Map Name.
|
 Import Validation Map configuration data will need to be validated before an import can occur. As per the Validation Rules, the .csv file can be validated to different levels. For example, a baseline Map, can be imported using the basic validation rules set to AutoMap; this validation does not carry out nodal configuration checks, etc because it will expect the User to first conduct an AutoMap™ before carrying complex testing, such as an Intermittence test. Validation Levels:
|
 Signal Types Signal Types can be assigned to each TP to allow an better understanding of the circuit during deep diagnosis of a fault. It could be argued that every TP on a specified node should have the same Signal Type ie 'Vertical Gyro + Data'. However, while this is generally true, in some schematics, TPs carrying the same signal type on a common nodal connection might be referenced differently. For example for the same signal:
|
 Select File Dialog Button Click on this button to open a Select File dialog and folder will be filtered to list file names with a .csv extension. The default folder is set to \NODES_CoreData\RawData_Files
If there is a file in the same folder with same name but with a .PNG extension, this graphic will be imported automatically as the GXY graphic.
|
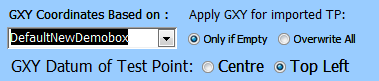
 Options Select the options based on the GXY coordinates available in the selected .csv file and their datum. If some or all of the coordinates are missing, or perhaps wrong, then select the appropriate default GXY Coordinates to be applied during import, and then whether to import them based on if the imported data is empty or needs to be overwritten.
Ensure that the datum of the GXY coordinates is correctly selected. The two options are if the coordinates have been set as the top-left of the TP, or the coordinates are set at the centre of the TP.
|
 csv Import Report Depending on the validation criteria applied, this Report will list all the errors associated with the selected .csv file. See Validation Report for more details. For the example shown, the Error entry will need to be addressed, while the other 4 entries are Warnings or Comments; info only and so they can be addressed if required.
If no errors have been found, the report will read Status - OK - Zero - No Errors found using CSV Validations Rules - Intermittence
|
 Import Report Buttons Click on Preview Import Report to view the report in a page format ready for printing. Click on the Copy CSV Error Report to copy the report to Clipboard.
|
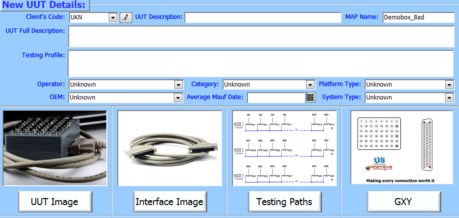
 UUT Details |
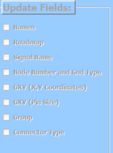
 Update Fields If the name of the .csv file selected is already a valid UUT within the current Dataset, then the User will be asked if the existing UUT needs updating. If an update is requested, then the fields shown are enabled, and the User has the option to switch any of the fields on/off for update. Note an update of a UUT cannot be undone.
|
 Cancel Button Click to completely cancel this operation.
|
 Create UUT Click to Create, or if appropriate Update, a UUT from the Imported UUT data and any additions/changes made to the standard UUT fields.
This button will only be enabled if the validation of the UUT data has been successful.
|
Made with help of Dr.Explain
|